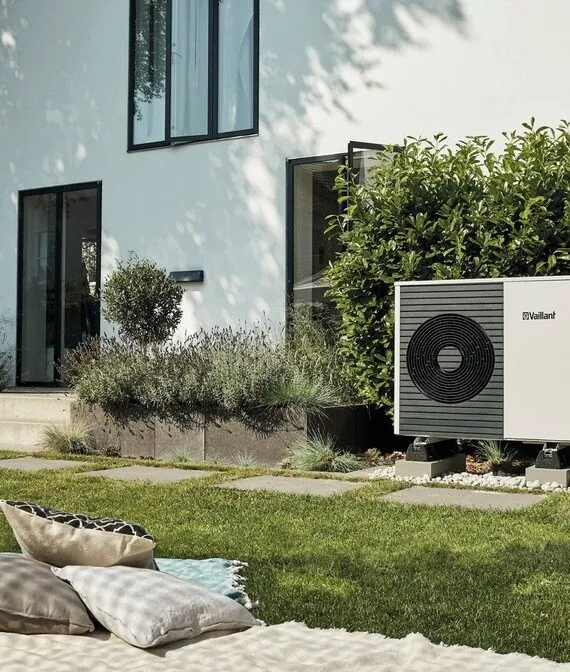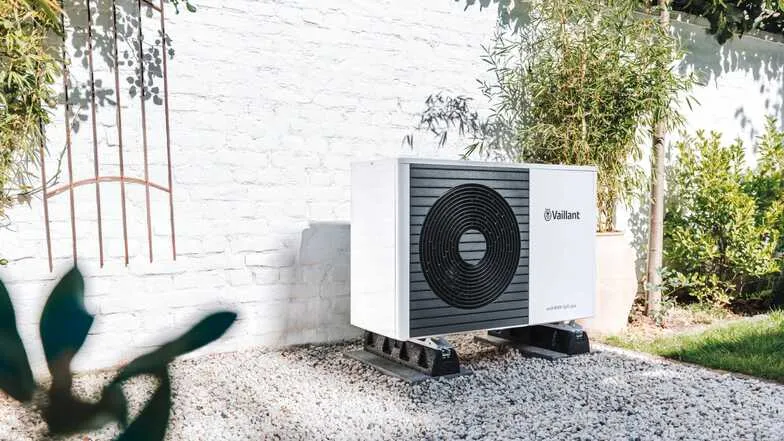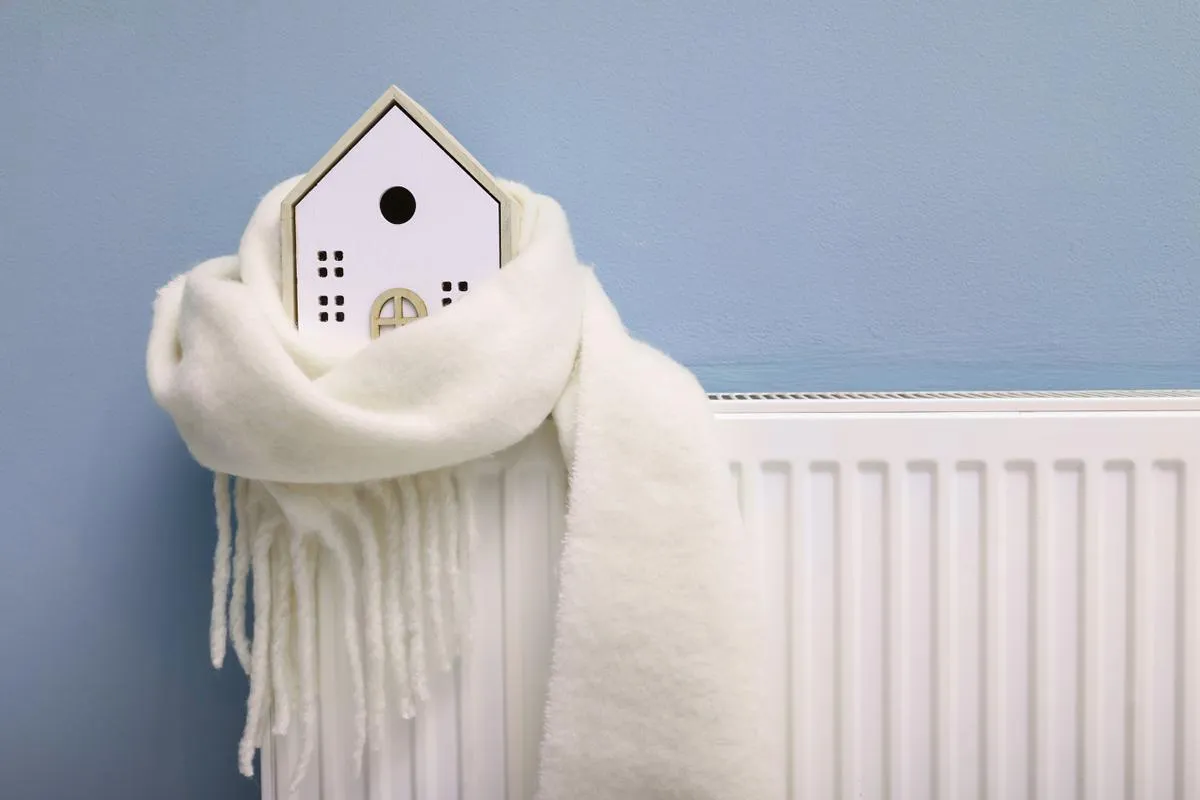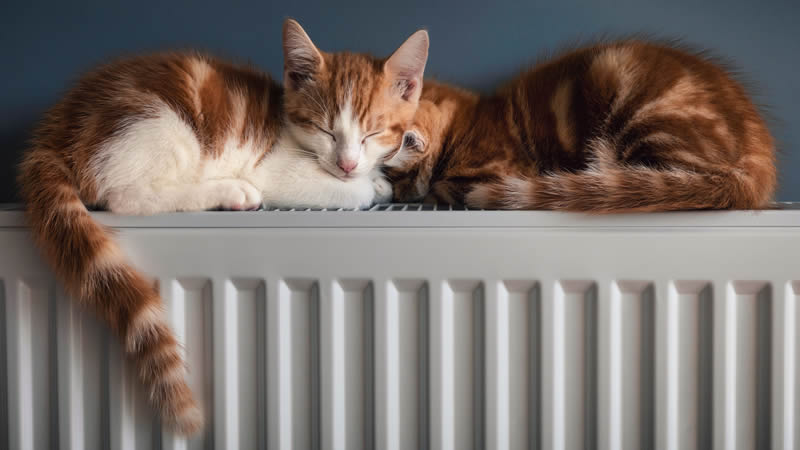
As we head into the colder months, it’s essential to make sure your heating system is working at its best. One simple yet effective way to ensure this is by bleeding your radiators. Trapped air can accumulate over time, causing cold spots and reducing efficiency, which means your home takes longer to heat up and uses more energy. Fortunately, bleeding radiators is something you can easily do yourself. Follow our step-by-step guide to get started!
Why Bleed Your Radiators?
When air gets trapped in your radiators, it prevents hot water from fully circulating, creating cold spots. This can cause your heating system to work harder to warm your home, resulting in increased energy usage and a higher utility bill. Bleeding your radiators releases this trapped air, allowing the hot water to flow freely and heat your home more efficiently.
How Often Should You Bleed Your Radiators?
A good rule of thumb is to bleed your radiators at least once a year, ideally at the beginning of the heating season. However, if you notice any cold spots or hear gurgling noises from your radiators, it may be time to bleed them again.
Step-by-Step Guide: How to Bleed Your Radiators
1. Turn Off Your Heating System
Safety first! Always turn off your heating system and let it cool down completely before bleeding your radiators. This helps prevent hot water from spilling out and reduces the risk of burns.
2. Gather Your Tools
You’ll need a radiator key, which is available at most hardware stores. You can also use a flathead screwdriver if your radiator has a slotted valve. Additionally, keep a cloth or small bowl nearby to catch any water drips.
3. Locate the Bleed Valve
The bleed valve is usually located at the top of your radiator, often on the side. It resembles a small square or slotted nut, depending on the type of radiator you have.
4. Turn the Valve Slowly
Place the radiator key (or a screwdriver) on the valve and turn it counterclockwise slowly. You’ll likely hear a hissing sound as the trapped air escapes. Keep turning until the hissing stops.
5. Watch for Water
When water starts to trickle out of the valve, this means all the air has been released. Hold your cloth or bowl under the valve to catch any drips, and be prepared for a small amount of water.
6. Close the Valve Securely
Once you see a steady flow of water, turn the valve clockwise to close it tightly. Be careful not to over-tighten, as this could damage the valve.
7. Check Your Boiler Pressure
Bleeding radiators can sometimes lower the pressure in your boiler, so it’s essential to check the gauge after bleeding. The ideal pressure range is 1.0 to 1.5 bar when the boiler is cold. If your boiler pressure is too low, you may need to top it up.
8. Turn Your Heating System Back On
After everything is closed and secure, turn your heating back on. Check your radiators to ensure they’re heating evenly from top to bottom.
Troubleshooting Common Issues
Still Have Cold Spots?
If bleeding doesn’t resolve the problem, you might have a deeper issue with your heating system, such as a sludge buildup or a circulation problem. Contact a heating professional to diagnose and fix the issue.
Low Boiler Pressure:
If you need to re-pressurise your boiler, consult your boiler manual or contact a professional if you’re unsure.
Benefits of Regularly Bleeding Your Radiators
Regular radiator bleeding helps:
- Increase Efficiency: Your heating system uses less energy, saving you money.
- Improve Comfort: Enjoy consistent warmth with no cold spots.
- Extend Radiator Life: Proper maintenance can help prevent wear and damage to your radiators.
Stay Warm and Efficient with Neater Heat
Keeping your home comfortable and energy-efficient during the colder months doesn’t have to be complicated. Regular radiator maintenance, like bleeding, can make a big difference! If you’re part of our Neater Heat Care Plan, we’re always here to support you with any maintenance questions or to help you keep your heating system in peak condition.
Got questions or need help? Don’t hesitate to reach out – our team is just a call away!