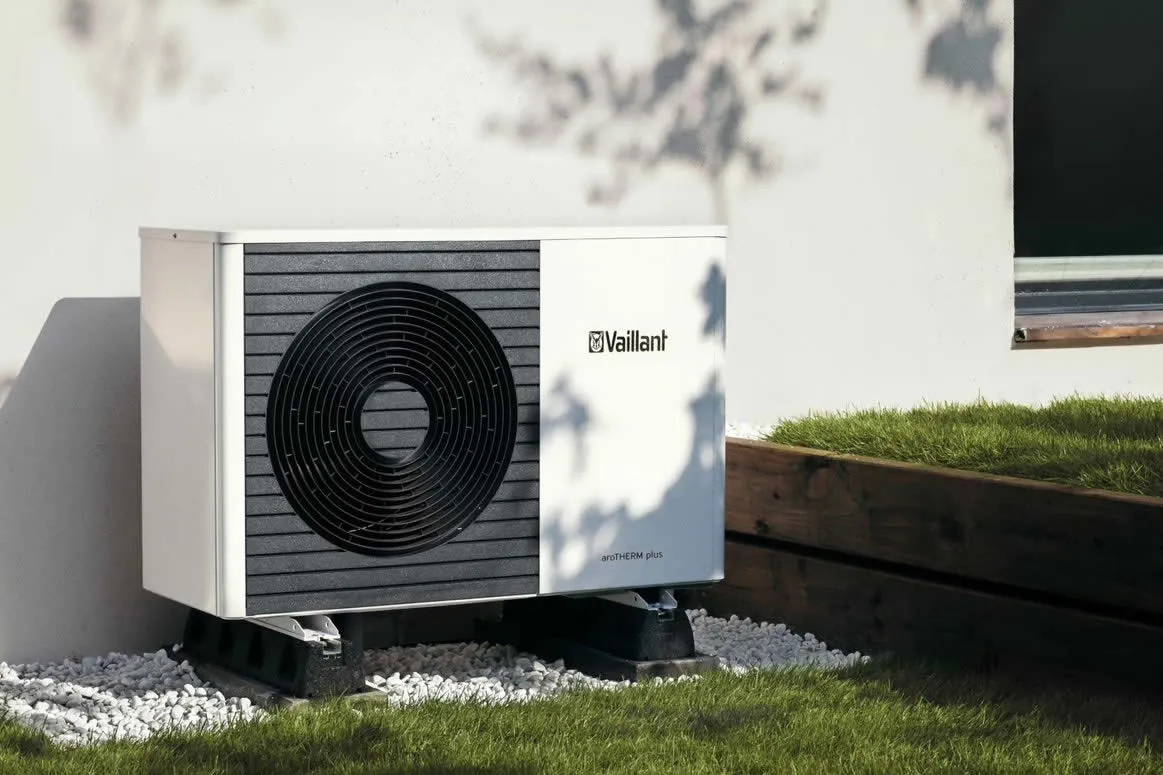
Fixing Common Heat Pump Issues: Troubleshooting Tips for UK Homes
A struggling or failed heat pump quickly affects comfort and energy bills, so timely, accurate troubleshooting saves money and prevents bigger repairs. This guide walks through the most common issues — no heating, odd noises, frozen outdoor units and water leaks — and gives safe DIY checks you can carry out right away. You’ll learn how to spot symptoms, run simple tests on thermostats, filters, breakers and drains, and recognise the clear signs that mean it’s time to stop DIY and call a certified engineer.
Each section provides focused, actionable steps, short diagnostic lists, and compact reference tables that map likely causes to immediate actions. Advice is tailored for UK homes and uses current terms such as defrost cycle, refrigerant leak detection, and air-source heat pump fault-finding. Read on for clear troubleshooting sequences and straightforward guidance on when to escalate to professional servicing.
Why Is My Heat Pump Not Heating? Causes and Quick Fixes
If your heat pump isn’t producing heat, it’s usually down to a few common areas: controls, restricted airflow, low refrigerant or electrical faults. Start with homeowner-safe checks: confirm the thermostat mode and set temperature, inspect and replace blocked filters, and check the consumer unit and outdoor isolator.
These simple steps often restore normal operation and help you decide whether the issue is mechanical, refrigerant-related or electrical. If the unit runs but blows cold air, that points more to refrigerant or compressor faults than to a control problem. For more information, visit heat pumps.
This table links common causes to symptoms and quick DIY checks to help you prioritise before calling a professional.
| Component | Symptom | Immediate Action |
|---|---|---|
| Thermostat | Wrong mode or blank display | Check mode, replace batteries, reset schedule |
| Air filter | Poor airflow, longer cycles | Inspect, clean or replace filter |
| Breaker / isolator | No power or unit won’t run | Check the consumer unit and the outdoor isolator |
| Refrigerant line | Unit runs but not heating | Look for hissing or oily spots; don’t attempt recharge |
Use the table to quickly isolate faults and determine whether it’s safe to continue home checks. The following sections dig into mechanical, refrigerant and electrical causes in more detail.
What Are the Common Reasons for Heat Pump Heating Failure?
Mechanical faults, refrigerant loss and airflow restrictions are the most frequent culprits. A failing compressor or seized motor may try to start, then trip breakers; low refrigerant typically lets the system run without producing heat and can leave oily residues or hissing noises. Blocked filters, obstructed vents, or snow buildup reduce airflow and cause long run times and uneven temperatures. Electrical faults — blown fuses, tripped isolators, or failed relays — often make the system completely inactive. Noting whether the unit runs at all is the quickest way to narrow the likely fault category.
These distinctions prepare you for the hands-on thermostat and filter checks next.
How Can I Troubleshoot Thermostat and Air Filter Issues?
Begin with the thermostat: set it to heating, raise the set temperature above room temperature, and perform a quick reset by switching it off and back on. Replace batteries if applicable and check that any smart schedule hasn’t overridden manual demand.
For air filters, switch the system off at the isolator, remove and inspect the filter for dust and debris, then clean or replace it according to the manufacturer’s guidance — a restricted filter often causes poor heating. If resetting the thermostat and restoring airflow don’t restore heat, the problem may be compressor- or refrigerant-related and will require a certified technician to inspect the sealed system.
If DIY checks suggest refrigerant loss, compressor failure or an electrical fault, arrange professional diagnostics. Neater Heat provides MCS-accredited heat pump servicing and repairs across Hampshire, Surrey, Berkshire and Greater London and can book diagnostics and repairs when sealed-system or electrical issues are indicated. If thermostat issues are recurring, it may be worth upgrading to smart heating controls, designed to work efficiently with heat pump systems and reduce running costs.
How to Diagnose and Fix Heat Pump Noise Problems
Heat pumps normally make a gentle fan whirr and occasional relay clicks. Grinding, loud bangs, or high-pitched hissing are signs of mechanical or refrigerant-related faults. Start by noting the sound type, when it occurs (start-up, steady run, or during defrost), and whether performance changes.
Simple fixes include clearing debris from the outdoor unit, tightening visible fasteners and checking mounting brackets and anti-vibration pads. These checks often remove loose-part noise and show whether the fault is superficial or inside the compressor or fan assembly.
Use the checklist below to triage noises, match likely faults to DIY checks and decide when to call in a pro.
| Component | Likely Fault | DIY Check | When to Call Pro |
|---|---|---|---|
| Fan | Bent blade or loose mount | Inspect with power off and tighten bolts | If blade is damaged or motor hums |
| Bearings / motor | Grinding or squeal | Listen at start/stop cycles | If grinding persists or there’s smoke |
| Refrigerant circuit | Hissing or bubbling | Check for oily residue and listen closely | If hissing continues or oil is visible |
This helps separate easy fixes from faults that need a trained technician and guides your next safe steps.
What Causes Unusual Heat Pump Noises?
Different noises point to different problems: hissing can mean refrigerant leaks or pressure equalising, grinding suggests worn bearings or a failing motor, and banging or clunking usually comes from loose panels or mounts. Rapid clicking or short cycling can indicate control‑board or relay faults, which are electrical rather than mechanical.
Environmental factors — such as loose debris or frost on coils — can also cause temporary noises that clear after cleaning or thawing. Identifying these patterns reduces wasted checks and helps you prioritise safe actions.
Knowing typical noise signatures also makes it easier to recognise when a professional call-out is needed for safety or warranty reasons.
When Should I Call a Professional for Noise Troubleshooting?
Call a professional immediately if you smell burning, see smoke, hear persistent, loud grinding, spot oil or refrigerant leaks, or if the unit fails to start and repeatedly trips breakers. Those are safety risks or sealed‑system faults unsuitable for DIY and can cause irreversible compressor damage if ignored. Leaving these issues risks a costly replacement rather than a repair — a qualified technician can safely diagnose compressor, motor or control‑board faults.
For urgent mechanical or refrigerant problems, use an accredited service provider to restore reliable operation without risking personal safety.
Neater Heat’s local service team offers accredited diagnostics for serious mechanical faults, such as compressor failure, and can advise on repair versus replacement when you spot the red flags above.
What to Do When Your Heat Pump Is Freezing Up: Solutions and Prevention

If your outdoor unit is freezing, it’s usually caused by restricted airflow, blocked coils or a defrost cycle that isn’t working. Safe immediate actions include switching the unit to defrost (if available), turning it off to allow a controlled thaw, and clearing snow and debris around the outdoor unit to restore airflow. After thawing, check filters, condensate routes, and fan operation — persistent freezing often follows reduced heat exchange or low refrigerant pressure, which prevents proper defrost sequencing.
Addressing airflow and control issues quickly reduces stress on the compressor and helps avoid long-term damage.
The steps below explain how a failed defrost cycle causes ice build-up and what to check to confirm correct operation. You can find more about heating options and solutions at heat pumps.
How Does a Defrost Cycle Malfunction Cause Freezing?
The defrost cycle periodically reverses heat flow or energises heaters to melt frost on outdoor coils; sensors and the defrost control board trigger these cycles based on coil temperature and run-time. Issues arise if sensors fail, the defrost board is faulty, or if incorrect pressures or refrigerant imbalance prevent the cycle from running — ice then accumulates despite the unit operating. Typical signs include ice on the coil, long continuous running without heat output and visible frost after operation.
Understanding how defrost works helps you focus checks on sensors and controls before assuming a sealed‑system fault.
With that background, the next section covers maintenance tasks that prevent repeat freezing and ensure reliable winter performance.
Which Maintenance Steps Prevent Heat Pump Freezing?
Seasonal maintenance reduces the risk of freezing by keeping airflow clear, coils clean, and refrigerant levels correct. Simple homeowner tasks include keeping at least 30 cm of clearance around the outdoor unit, removing leaves and snow, and replacing filters before winter to maintain airflow — all of which reduce frost build-up and improve heat exchange.
Book a professional service ahead of cold weather to test defrost control, verify refrigerant pressure and check sensor operation, because technicians can spot and fix issues that routine checks can’t. Proactive servicing maintains efficiency and reduces the risk of emergency call‑outs during severe cold.
Planned professional servicing — covering defrost control checks and refrigerant testing — complements regular homeowner maintenance; consider arranging accredited assistance before winter for peace of mind. For peace of mind through winter, our heat pump service plans include annual checks, defrost control testing and refrigerant pressure verification — all carried out by our MCS-accredited engineers.
How to Identify and Repair Heat Pump Water Leaks
Water around a heat pump can come from blocked condensate drains, overflowing pans or from refrigerant-containing components that show oily residues. Start by finding the source: look for puddles beneath indoor units (a blocked condensate drain), inspect the condensate pan for cracks, and check for oily streaks or stains that could indicate refrigerant leaks.
If water is near electrical connections, switch the system off at the isolator and don’t touch any components until a professional inspects the unit. Distinguishing drainage problems from sealed‑system leaks is vital because the fixes and safety responses differ significantly.
The table below clarifies visible signs and recommended homeowner actions for common leak sources.
| Area | Visible Sign | Recommended Home Action |
|---|---|---|
| Indoor unit/drain | Puddles under the casing | Turn off the power and clear the condensate line |
| Condensate pan | Overflow or corrosion | Empty the pan, inspect for holes and arrange repair |
| Refrigerant circuit | Oily residue or hissing noise | Don’t attempt a recharge; contact a technician |
Use this to decide whether the leak is a drainage issue you can fix or a sealed‑system fault needing certified repair, then follow the stepwise guidance below.
What Are the Signs of a Heat Pump Leaking Water?
Condensate leaks usually show as pooled water under indoor cassettes or overflow from the condensate pan, often with a musty smell or reduced dehumidification. Refrigerant leaks tend to leave oily stains on pipework, cause persistent hissing from the refrigerant line, or result in a sudden drop in heating performance without a blocked drain. If you see oil or pressure-related symptoms, don’t top up refrigerant yourself — handling refrigerants requires certification and specialised tools. Correctly identifying the leak type lets you take the right immediate action.
After identifying the source, either clear drains safely or contact a certified technician for refrigerant leaks.
How Can I Clear Clogged Drain Lines and Address Frozen Coils?
To clear condensate lines, switch off the system at the isolator, use a wet/dry vacuum on the drain access point to remove blockages or gently flush with warm water if accessible; only restore power once the line is clear. For frozen coils, allow a natural thaw with the system off and clear nearby airflow obstructions — small ice patches often clear after thawing and restarting on a defrost cycle.
Don’t use sharp tools or apply direct heat to the coils, and stop DIY work if electrical components are wet or if you find oily residue indicating refrigerant issues. If drain clearing and safe thawing don’t fix the problem, contact a qualified technician for further diagnosis.
If you suspect a sealed‑system issue or coils remain frozen after basic thawing, arrange professional inspection — accredited technicians will locate refrigerant leaks and repair corroded pipework safely.
Neater Heat’s MCS‑accredited local service team provides heat pump servicing, reactive repairs and 24/7 call‑out coverage across Hampshire, Surrey, Berkshire and Greater London for issues beyond safe homeowner checks. For persistent compressor, refrigerant, or electrical faults, an accredited technician will perform sealed‑system diagnostics, pressure testing, and safe repairs to restore reliable heating performance.
Conclusion
Knowing the common heat pump faults and how to check them gives UK homeowners the confidence to maintain comfort and keep systems efficient.
Follow the troubleshooting steps here to quickly identify issues and take the right action — often saving money and preventing more costly repairs. For more complex or sealed‑system issues, accredited technicians provide safe, effective solutions.
Visit Neater Heat to arrange expert servicing and keep your heat pump running smoothly all year round.